Wednesday, June 30, 2010

DIY Satin Flowers


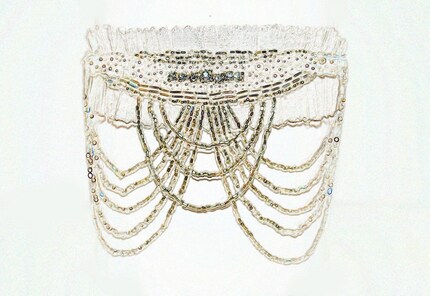
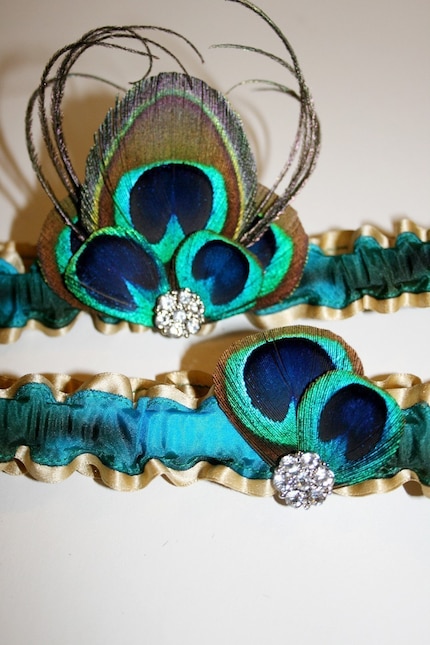
I have always loved the look of these flowers and knew I could totally recreate them. So today I took a trip to the fabric store to pick up the supplies I needed to make them. Here are the supplies you'll need.

Supplies:

Yardage of Satin Material (if you're only making 1 large flower 1/4 of a yard is more than sufficient.)
Yardage of corresponding Organza Material
Thread in corresponding colors
Needles
Glass Beads in corresponding colors
Scissors
Long necked lighter

Wine glass

Votive cup

Colored Pencil or Sharpie

Bottle of Wine for sipping as  you craft!

6-30-10 150


Where to Begin:

Lay fabric upside down on your crafting surface. The silkiest side of the fabric should be face down. 

Use the dimensions of a wine glass to trace a circle shape on the back of the fabric.

6-30-10 153

Trace several circles to make numerous flowers.

Cut the circles out with a pair of regular scissors.

6-30-10 155

Use a votive holder to make smaller circles and repeat the cutting process.  Don’t worry about making the circles perfect.

Cut one large and one small circle about 1/4” smaller than the others.

You will end up with 4 circles this like this:

6-30-10 160

Begin the heat setting process by squeezing the largest circle together in your fingers.

Use your long necked lighter to slowly heat set the edges of the circle. The heat will cause the sides to curl and warp.

6-30-10 161

Continue the heat setting process with all of the circles.

6-30-10 168

Once all of the circles are completed, thread your needle with a corresponding thread. You’ll only need about 12 inches of thread doubled over. Knot the thread at the bottom.

Layer the smallest circle on top of the next largest circle.

6-30-10 170

Thread the needle up through the bottom of the two layered circles.

6-30-10 175

Before threading back down pick up a bead with your needle.

6-30-10 186

6-30-10 177

Thread back down into the center of the flower with your needle. Repeat as many times as you’d like based on the number of beads you’d like in the center of the flower. For these flowers I used 3 beads.

Once the beads are attached. Layer the remaining two circles with the largest on the outside.  Use the same thread to attach these two layers to the inside section of the flower.

6-30-10 182

Gather the flower by creating an exaggerated X on the backside of the flower. When you pull the loose X in to tie it off it will gather and bunch the flower to create a beautiful bloom.

6-30-10 187

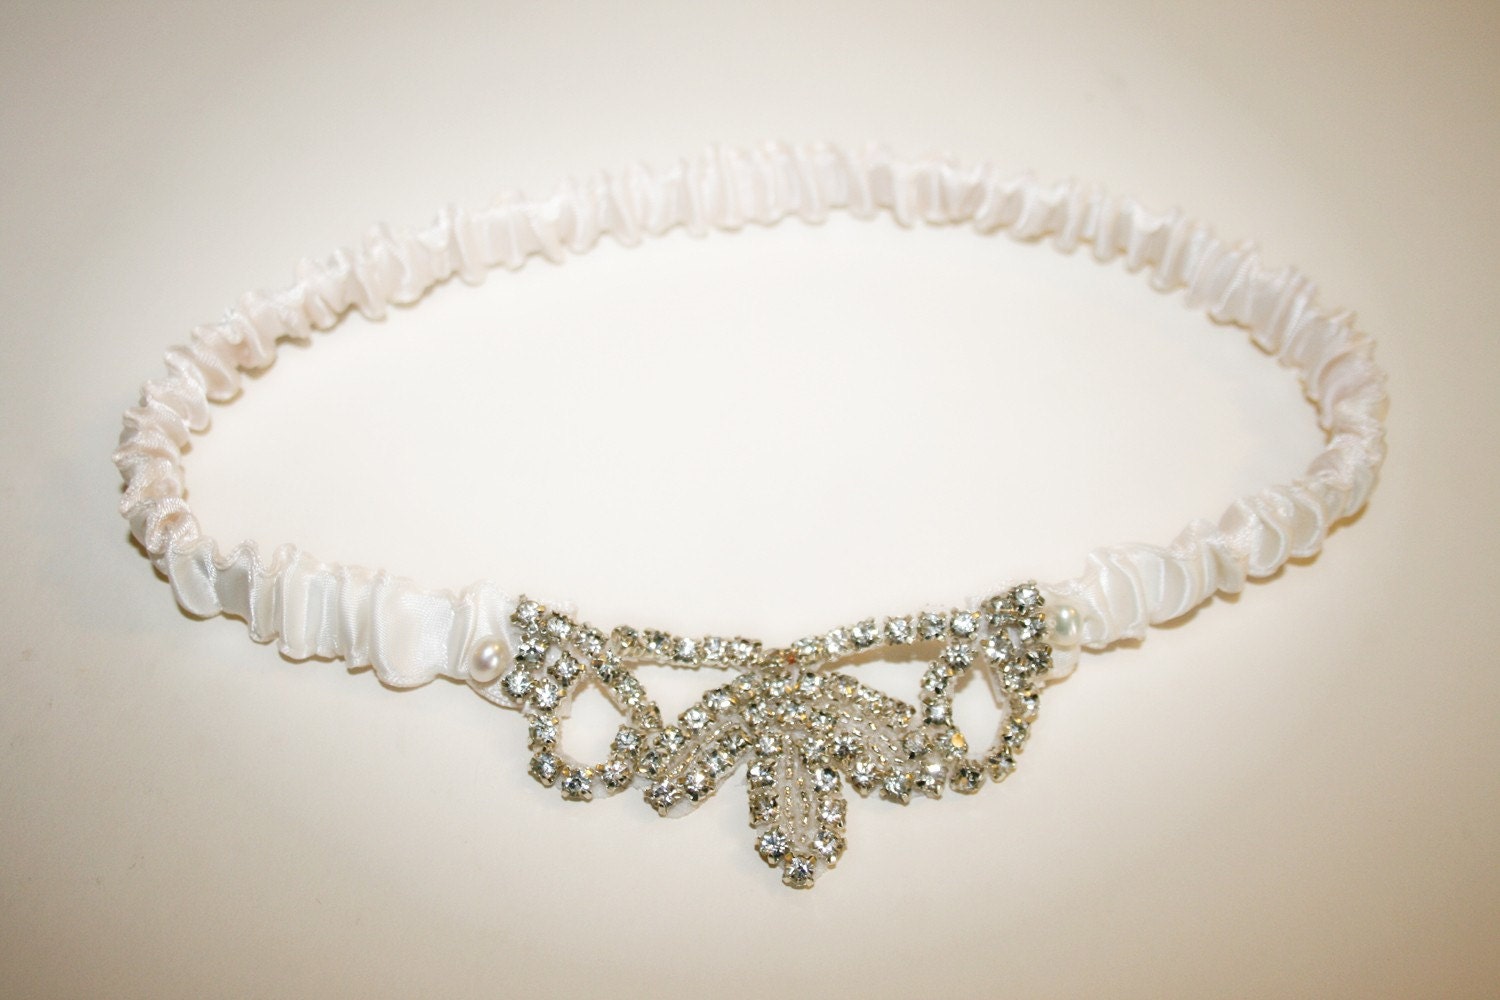
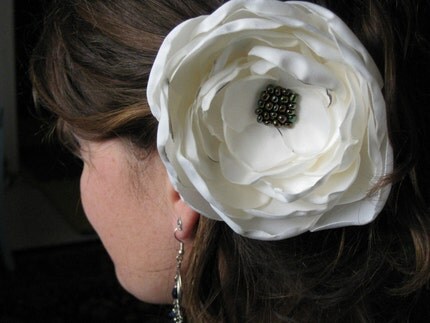
Use the blooms to attach to a hair pin, a belted sash, a necklace, or fashion a bouquet with these beautiful blooms.

A Few Added Tips:

For the white flower I also used a sheer organza fabric to create the beautiful airy look. Heat set the organza just like the satin. But be careful because the organza will brown much faster.

Using larger circles will create larger blooms but you’ll need more varied size layers in between to create a full look.

It does happen on occasion that heat setting can cause the fabric to catch on fire. In that case, quickly blow it out. Trim the dark edge off and start again. 

If after you’ve assembled the flower there’s a little fraying… slowly, and carefully re-heat set.


Keep your eyes open for the DIY tips on turning these beauties into a bouquet!

Hope you enjoyed! Happy Crafting!

Shoe Appeal Wednesday!

Well today's shoes aren't exactly wedding worthy... well I take that back. They may be wedding worthy if you're in love with your career... as a nurse.

You see today my dear sweet mommy is having surgery on her foot and so in honor of her today's shoes are these:


I'll be sitting at the hospital today while you're catching up on Planny Pants the blog. If you think of us or better yet mommy say a quick prayer that the doctors will do their best work and everything and everyone will be ok!

Au Revoir for now!

Wednesday, June 23, 2010

Make-Up Party In The Loft


Hot of the Presses and a super cool event! Dayton Ladies you definently need to check this out! What a great way to learn a little more about what's in your makeup bag and how to use it correctly!

Here's the news from Michelle at A Vogue Idea!

We are so pleased to announce our upcoming Makeup Party at The Loft August 7th at 6:30pm. The session will be taking place in our chic loft located in downtown Dayton, Ohio

The details:
Cost:$75 per person or $100 for a couple(so grab your best girlfriends and bring them along)

Includes:professional makeup tips and application for each guest provided by professional makeup artist Michelle Richardson of A Vogue Idea, Complimentary cocktails and hors d oeuvres, a goody bag for every guest and a 5x7 photo from the night.We will have makeup on hand but also feel free to bring your own makeup bag if you have products you would like to work with or have questions about.

We’re working hard to make this an amazing event for you, and we just know you’re going to love it! If you’d like to speak to us in person or if you have any questions, we’d love to hear from you! Give us a call at 513-465-6607
Space is very limited as we do factor plenty of time to get dolled up and it will be on a first come, serve basis. If you would like to reserve a spot there is a $50retainer due upon booking. Contact me with "Makeup Loft Party" in the subject line at Michelle@avogueidea.com


Check out Michelle's website at www.avogueidea.com

Shoe Appeal Wednesday!


I didn't forget! I found these amazing shoes the other day! I fell in love!!!

Can you just picture the shots of the shoes peeking out from under the wedding dress and seeing these! Yummy!

Hope you enjoy!

Saturday, June 19, 2010

The Blush Layout

A favorite local photographer Tracy Abston at Pictures by Tracy recently allowed us to provide the refreshments for her Boudior Marathon Shoot at her studio. Here are the results.


We are so excited to offer this option to local photographers in the future.

Friday, June 18, 2010

Oops... Shoe Appeal Day Came and Went!

So Hand in Hand Bridal has had a crazy busy week with 3 events last weekend and more coming next weekend! We love our job! But I've left you hanging for shoe appeal day! For the Love of Shoes this is a Travesty!

Our latest pick!


We absolutely love the jeweled back of these shoes! The skinny heel looks so elegant!
Post a picture of your wedding shoes or a link to the ones you're dreaming of! Enjoy!

When Awesome is Affordable!

I absolutely had to share these super cool necklaces I am drooling over. The greatest part is that they are totally affordable and as long as none of you tell my husband I am so getting several of them!

Check out some of these awesome and affordable wearable candy from JC Penney!


Definently worth a stop in! Try to only buy one! I dare you!

Wednesday, June 9, 2010

Shoe Appeal

So for those of you who don't know already, I'm a huge shoe fanatic. My dad loves to tell the story about picking me up from college in Minneapolis, MN and hauling my 3 enormous tubs of almost 200 pairs of shoes all the way home to NY.

I caught the shoe bug young... and although I have paired down as an adult I still have almost 100 shoes! So yeah... loving shoes comes naturally! So I thought hey, why not feature some of my favorites right here on the Planny Pants blog! So every Wednesday (hopefully) I'll post a great new pair of shoes perfect for the bride!

Starting with these showstoppers from Chanel! Sigh!

Friday, June 4, 2010

A Twist On The Toss!


Tossing the wedding garter is an old time held tradition. It is said that in the days gone past, the bride and groom had to show proof of their wedding consummation. In order for it to be proven, it was common tradition to have people like family and friends come into the room with the couple. The "witnesses" would obtain the garter as "proof" of the consummation. Also having any article of the under garments was considered to be good luck so sometimes things would get out of hand in the newly wed's bedroom as crazed onlookers snatched at clothing to get for good luck. This was not appreciated much by the bride nor many grooms, hence the groom started tossing the garter out so that no one would need to obtain it themselves.

(How barbaric this sounds! glad things have changed since then)

Because of modesty, this tradition has been modified and moved from the bedroom to the reception. Now today we have the traditional garter toss, which is meant to bring good luck to the man who catches it. He is said to be the next one to marry. In some cultures the men stand and wait for the garter to be tossed. Other cultures they actually compete for it. The men may compete for the garter in a foot race or by horse (this is a medieval practice). At least it is better than having the men chase the bride and put her upside down to get the garter off... This is what used to happen! In yet other places, they even auction the garter off. As strange as these twists on the wedding garter tradition may sound, it's all just a tradition. Take it or leave it.

or should I say "Take it or Toss it! "

Here are some great new twists on this old tradtion.

I absolutely love love love the amzing and unique designs by Mia Von Mink. Her Etsy store has eye candy galore.


These are beautiful. Check out her etsy store for other absolutely beautiful and unique designs.

Here are some other gorgeous options found around the internet.


These fantastic garter options will add a super fun and creative touch and will prove to really put a twist on the typical old garter!

Au Revoir for now!